DIY Fabric Waterproofing Checklist: Spray, Wax, Seal
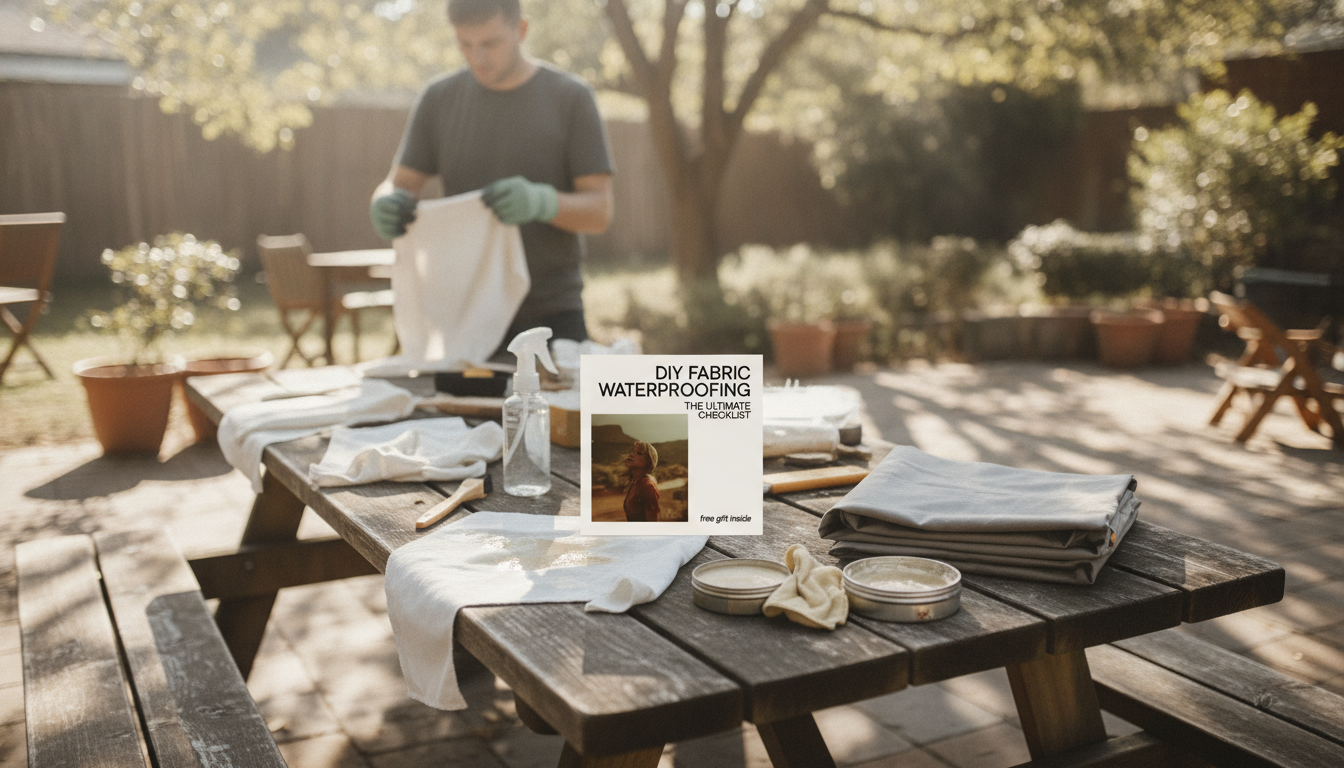
Waterproof Fabric at Home: A DIY Checklist That Actually Holds Up
Waterproofing fabric at home can extend the life of outdoor gear, protect everyday items from spills, and improve performance in wet conditions—when the right method is matched to the fabric and the end use. This checklist-style guide focuses on practical prep, safe application, curing, and testing so the finish holds up without damaging breathability, color, or texture.
Start With the Right Expectations
- Define the goal: water-repellent (water beads), water-resistant (slows soaking), or truly water-proof (barriers plus sealed seams and closures).
- Decide whether breathability matters: for jackets and packs, a light DWR-style approach is usually better; for table covers or liners, a stronger barrier can be acceptable.
- Plan for maintenance: most DIY coatings need periodic refresh—especially after washing, heavy abrasion, or lots of flexing.
Fabric Check: What You’re Working With
- Identify fiber type: cotton/canvas/denim absorb and accept wax well; nylon/polyester often do best with spray-on DWR treatments designed for synthetics.
- Check construction: tight weaves shed water better; loose weaves and knits can be harder to seal evenly and may wick at stitch lines.
- Inspect existing finishes: many outdoor items already have a water-repellent coating that may only need cleaning and reactivation (or a light refresher coat), not a full overhaul.
Quick Compatibility Guide
| Fabric / Item | Best DIY Approach | Notes to Watch |
|---|---|---|
| Cotton, canvas, denim | Wax or spray-on water repellent | Wax darkens fabric; test for stiffness |
| Nylon, polyester outdoor gear | Spray-on DWR-style treatment | Avoid heavy wax on lightweight technical fabrics |
| Upholstery and indoor textiles | Spray fabric protector | Ventilation is critical; check colorfastness |
| Tents, rainflies, seam areas | Spray treatment + seam sealer where needed | Seams often leak before panels |
Tools and Supplies Checklist
- Cleaning supplies: mild detergent, soft brush, lint-free cloths; optional isopropyl alcohol wipe for oils (spot test first).
- Application gear: gloves, mask/respirator as appropriate, drop cloth, hanger or drying rack, painter’s tape for edges and hardware.
- Method supplies: spray-on treatment or wax-based product; seam sealer if the item has stitched seams.
- Testing supplies: spray bottle of water, paper towels, timer, and a bright light to spot dampness and wicking.
Prep Steps That Make the Finish Last
- Clean first: dirt and body oils block adhesion and cause patchy results. Follow the care label when possible and rinse thoroughly.
- Dry completely: trapped moisture can cloud some coatings and extends cure time—especially in seams and hems.
- Mask what shouldn’t be coated: zippers, hook-and-loop, reflective prints, leather trim, and metal hardware (use tape or remove parts if possible).
- Work in a ventilated space: outdoors in shade is ideal. For indoor projects, prioritize fresh air exchange—guidance from the CDC’s ventilation resources is a helpful baseline.
Method A: Spray-On Waterproofing (Fast, Even Coverage)
- Shake and test: apply a small amount to an inconspicuous area to confirm no discoloration, spotting, or unwanted stiffness.
- Apply in light coats: keep a consistent distance, overlap passes, and aim for “even damp” rather than dripping wet.
- Hit high-wear zones: knees, seat panels, cuffs, shoulder straps, and pocket edges usually fail first—build durability with an extra light pass there.
- Clean up overspray quickly: wipe plastics, rubber, and coated logos unless the label says the product is safe for those materials.
If the product has noticeable odor or strong solvents, take VOC precautions; the EPA’s overview of VOCs and indoor air quality is worth reviewing before indoor use.
Method B: Waxing (Durable, Best for Heavy Cotton and Canvas)
- Warm the fabric slightly: room-warm material accepts wax more evenly. Avoid direct high heat that can scorch fibers.
- Rub wax in thin layers: work in small sections; pay extra attention to seams, folds, corners, and stitching where water likes to creep.
- Melt the wax in: use a hair dryer or gentle heat and keep it moving to help the wax level out and penetrate.
- Expect changes: wax often darkens fabric, adds stiffness, and can feel slightly tacky until it fully sets.
Method C: Seam Sealing (Stops Leaks Where Stitches Are)
- Use when needed: seams and stitch lines can wick water even when fabric panels bead nicely.
- Clean and dry seams: residue blocks bonding. Apply on the interior side when possible for a cleaner exterior look.
- Apply a controlled bead: smooth with a small brush or applicator tip; avoid thick blobs that can peel later.
- Allow full cure: keep the item flat or gently tensioned so the sealer doesn’t pool into weak ridges.
Drying, Curing, and When It’s Safe to Use
Water Test and Troubleshooting Checklist
Care After Waterproofing
Printable Checklist for a Smooth First Attempt
Download the waterproofing checklist to keep the steps and test points handy while you work.
If you like digital, step-by-step guides you can save and revisit, these in-stock downloads are also available: How to Escape a Car Loan You Can’t Afford – Step-by-Step Ebook Guide and AI Insights for a Healthier Cat: Ultimate eBook Guide.
FAQ
Can any fabric be waterproofed at home?
Most fabrics can be made more water-repellent at home, but true waterproofing depends on the weave, existing coatings, seams, and how the item is used. Delicate fabrics, loose knits, and highly absorbent materials may only reach “water-resistant” at best, so always spot test first.
How long does DIY waterproofing last?
It varies with abrasion, washing, flexing, and exposure: spray-on treatments often need refreshing sooner, while wax on heavy canvas can last longer. Reapply when beading noticeably declines or after a deep clean.
Will waterproofing change the color or feel of the fabric?
Wax commonly darkens fabric and adds stiffness, while many spray treatments preserve the original feel better but can still change sheen slightly. Testing an inconspicuous area and using light coats helps avoid surprises.















Leave a comment